HOW TO REMOVE BATHROOM SILICONE SEALANT
The Ultimate Guide on How to Remove Bathroom Silicone Sealant Safely and Efficiently
The Ultimate Guide on How to Remove Bathroom Silicone Sealant Safely and Efficiently
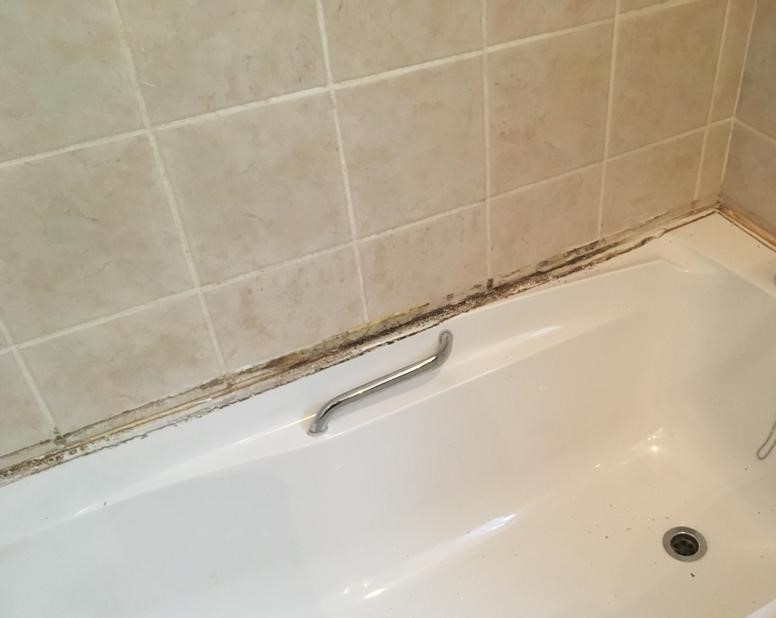
Is the sealant in your bathroom looking grimy and discoloured? Don’t worry, we’ve got you covered! In this ultimate guide, we’ll explain to you how to remove old bath sealant safely and efficiently without damaging your bathroom fixtures or tiles. Say goodbye to that unsightly sealant and hello to a sparkling clean bathroom!
METHODS OF REMOVING BATH SILICONE SEALANT: How to remove bathroom sealant
The section that discusses different methods of removing bath sealant can be improved by providing more detailed instructions and safety tips for each method. Here’s an example:
1. Stanley Knife:
2. Bath Sealant Remover Tool:
3. Removal Gel:
Cleaning the Area:
After removing the old sealant, it’s essential to thoroughly clean the area before applying the new sealant. Use white spirit on a cloth to dissolve any leftover sealant or adhesive. If needed, use a toothbrush to clean hard-to-reach areas. Next, use a mixture of bleach and water to kill any mould and sanitize the surface. Finally, rinse with clean water and dry the area completely before proceeding with the new sealant.


Applying New Bathroom Silicone Sealant:
Once the surface is clean and dry, you’re ready to apply the new bathroom sealant. You can choose between bath sealant tape or sealant from a tube. Bath sealant tape is a less messy option but requires a careful application to avoid air bubbles or incomplete contact with the surface. To use bath sealant tape, simply attach it to the gap as you would with sellotape, following the manufacturer’s instructions for proper sealing.
If you prefer to use sealant from a tube, follow these steps:
- Insert the sealant tube into a mastic gun.
- Cut off the tip of the tube, leaving a gap that matches the width of the gap between the appliance and the wall.
- Slowly squeeze the silicone into the gap, moving in a smooth and even motion.
- Wipe away any excesses.
- Mix up a solution of water and washing up liquid. Recommended to use a 50% ratio of each.
- Dip your finger into the solution to smooth out the new silicone and create a smooth, concave finish.
If you are worried about damaged or worn bathroom sealant, we can assist you in replacing old and dirty sealant to refresh your bathroom and make it look brand new, and save you time and money.
Talk to a sealant specialist today!
After investing hundreds or thousands in your project, your property deserves high-quality sealant services. Choose wisely, choose quality!
Get in touch today!
Are you looking for a mastic silicone sealant remover near me?


