Why Is My Shower Leaking Around the Tray?
READING TIME
Why Is My Shower Leaking Around the Tray?
A leaking shower isn’t always caused by faulty plumbing.
In many cases, the problem starts with something much simpler — failed sealant around the shower tray, enclosure, or surrounding joints. What often begins as a small gap or crack can gradually allow water to escape behind surfaces, leading to damp patches, mould growth, and damage that isn’t immediately visible.
The good news? In many situations, the solution is far less disruptive than homeowners expect.
The Most Common Cause of Shower Leaks
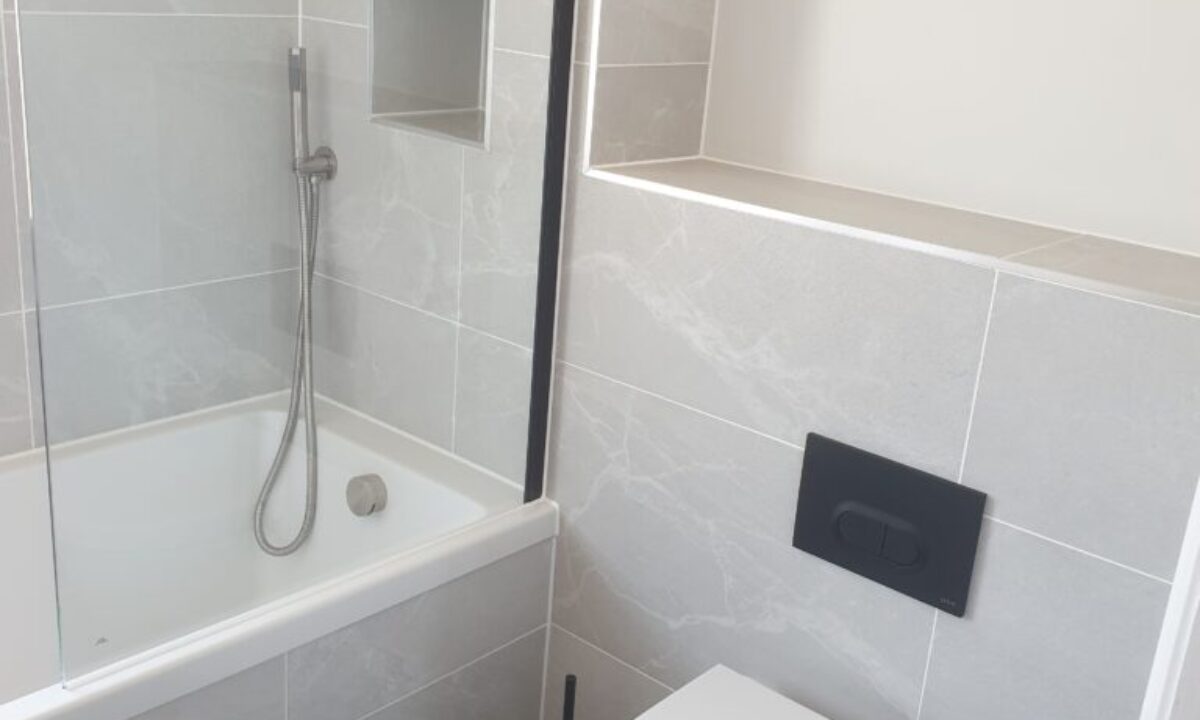
Shower trays and enclosures are designed to keep water contained within the shower area. The sealant surrounding these joints plays a vital role in preventing moisture from escaping.
Over time, silicone can begin to:
- Crack
- Shrink
- Peel away from surfaces
- Develop mould
- Lose flexibility
Once gaps appear, even small amounts of water can work their way behind the tray or wall panels.
Because this often happens gradually, many homeowners don’t notice the problem until signs of damage start appearing elsewhere.
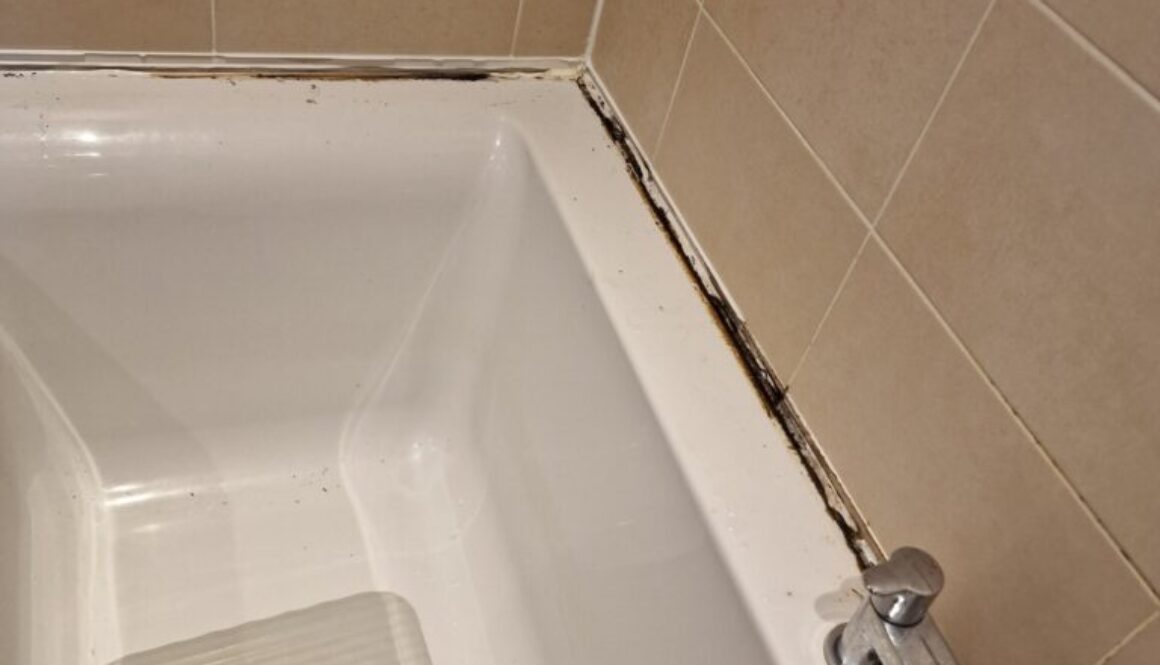
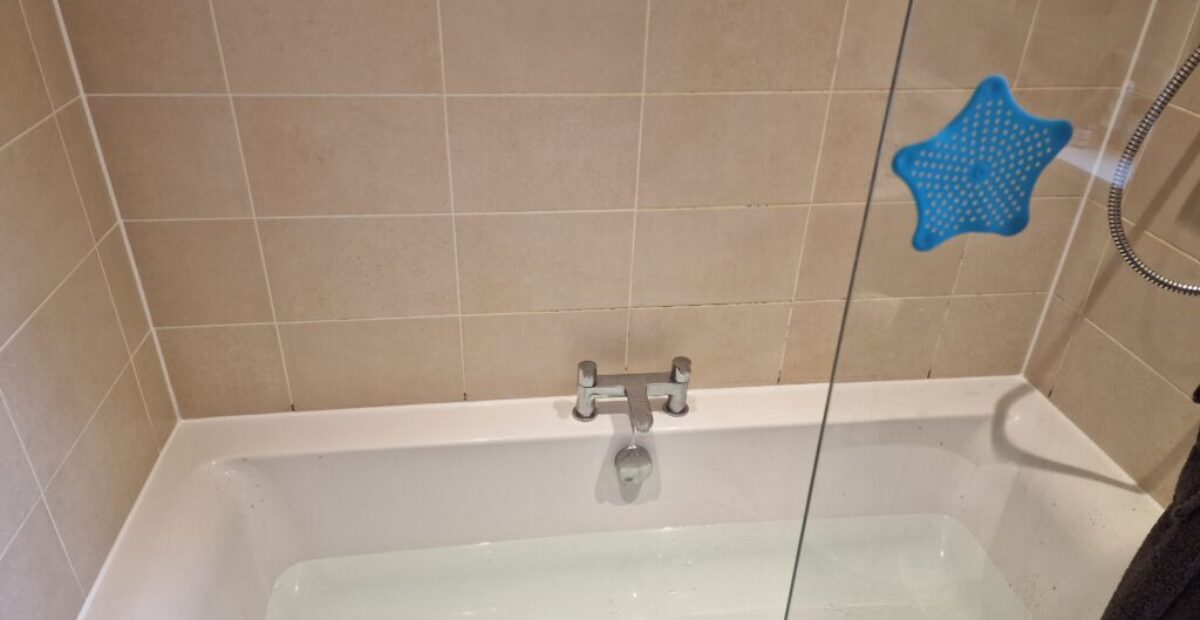
Signs Your Shower Sealant May Be Failing
One of the easiest ways to identify a sealant issue is by inspecting the silicone around the shower tray.
Common warning signs include:
- Black mould within the sealant
- Cracked or split silicone
- Peeling edges
- Discolouration
- Visible gaps between surfaces
- Water collecting outside the shower area
If any of these issues are present, the sealant may no longer be providing effective waterproof protection.
Could the Leak Be Coming From Somewhere Else?
Possibly.
While failed silicone is one of the most common causes of shower leaks, there are situations where the issue may be related to:
- Damaged grout
- Plumbing connections
- Faulty shower trays
- Loose fittings
- Structural movement
A professional inspection can usually identify whether the sealant is the source of the problem or if further investigation is required.
Why Adding More Silicone Isn’t Always the Answer
A common mistake is applying new sealant directly over old silicone.
Although it may appear to solve the problem temporarily, old sealant often contains trapped moisture, mould, and weakened adhesion. Applying fresh silicone over the top can result in poor bonding and further failure.
For long-lasting results, the existing sealant should be fully removed before new silicone is applied.
What Happens If You Ignore It?
Small leaks have a habit of becoming larger problems.
Water penetrating behind shower trays or wall panels can eventually lead to:
- Damp patches
- Mould growth
- Damaged plasterboard
- Loose tiles
- Stained surfaces
- Costly repairs
Addressing failing sealant early is often far more affordable than repairing water damage later.
When Should Shower Sealant Be Replaced?
There is no exact lifespan because every bathroom experiences different levels of use, ventilation, and moisture exposure.
However, if the sealant is visibly mouldy, cracked, peeling, or allowing water to escape, replacement is usually the most effective solution.
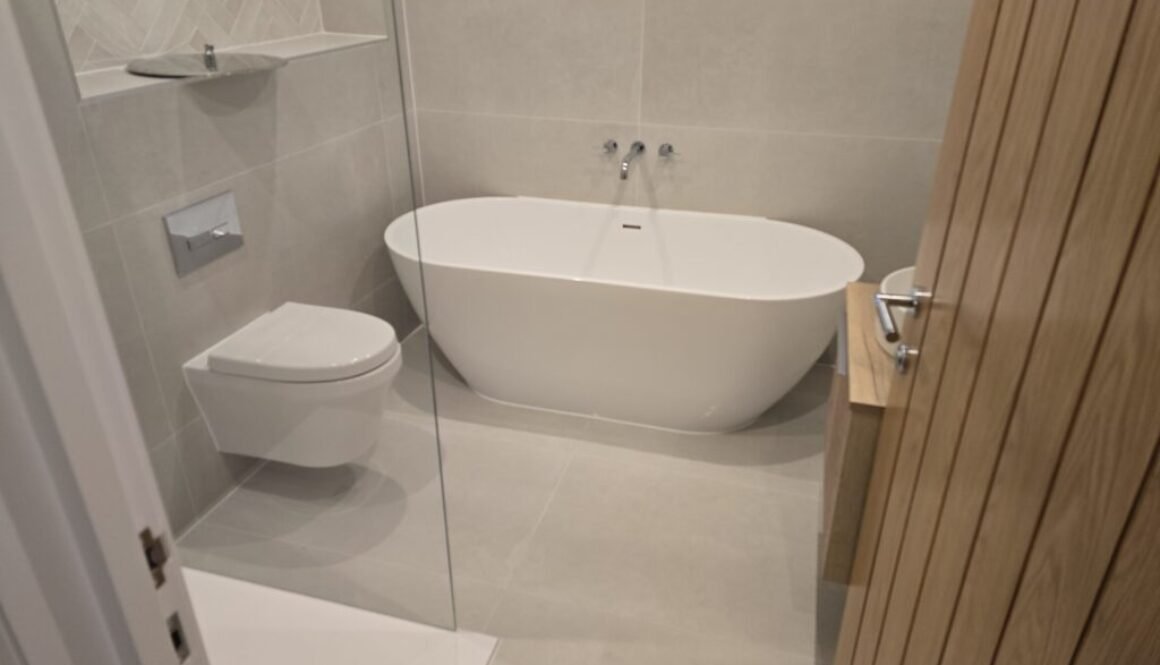
Professional resealing restores the waterproof barrier while improving the overall appearance of the shower area.
Professional Shower Resealing Services
ROSEAL provides professional shower resealing services across the South West, replacing failed silicone with premium-quality sanitary sealants designed for durability and long-term performance.
Whether you’re dealing with mouldy silicone, visible gaps, or a suspected shower leak, replacing deteriorated sealant can help protect your bathroom and prevent further problems from developing.
Areas We Cover
ROSEAL provides professional silicone services throughout Somerset, Bristol, Dorset, Devon, Wiltshire, and Hampshire, including Yeovil, Taunton, Bridgwater, Weston-super-Mare, and Bath.